Most siliconized fabric sheters and tents require seam sealing and this sometimes puts people off as they are concerned it is a complicated or hard proceedure.
If you prepare yourself and the items you need for the project, it can take very little time and the results will not only look good, but it will also keep you dry too!
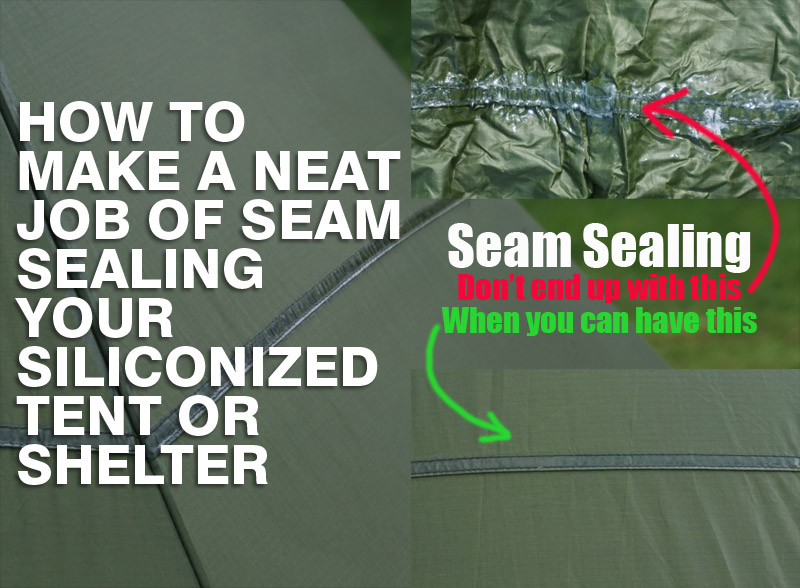
This video takes you through the process of seam sealing a medium sized tent.
First erect your shelter on a dry day and ensure the seams and guy points are taught.
Simply mix a small amount of Silnet with a drop or two of White Spirit in a glass or ceramic container. Mix until the consistency is that of thick olive oil.
Use a small stiff stippling brush and then apply the solution in short stages. Don’t put too much on the brush, just work a couple of inches or 5cm at a time, working the solution into the threads. I
f you spill any on the fabric where you don’t want it, a small dab of white spirit on a cloth or kitchen paper will wipe it off. (At one point in this video I use too much which left a slight stain on the fabric)
Leave to dry for a few hours before you fold you tent and put it away, or it might stick to itself. Seam sealing this Luxe F6A shelter took about 90 minutes.
A neat tidy job which will look good camping anywhere.
Great video Bob. Very helpful, thank you. Wish I’d seen this before seam sealing my poncho, lol.